Honey Wheat Bread
Years ago when I was first learning to cook, I avoided making bread as I thought it was difficult. Then one day, I tried it, and found that it is one of the easiest things to bake. This recipe is one of my favorites. I don’t have a bread machine, except for the 2 hands at the end of my arms. But I enjoy making bread by hand, and there’s nothing like the smell of baking bread wafting through the house.
A few bread crumbs of history:
- Dating from about 9500BC, it is one of the oldest prepared foods.
- About 1000BC, the Egyptians discovered yeast, and they were able to make modern bread as we know it.
- In ancient Rome, bread was thought to be more important than meat.
- A person’s social station could be determined from the color of their bread. The darker their bread, the lower their social status. This is because white flour was more expensive.
 Printer Friendly
INGREDIENTS
- 3 cups whole wheat flour
- 1 tablespoon salt
- 2 packages yeast
- 2 ¼ cups warm water (120 – 130 degrees)
- 1/3 cup honey
- ¼ cup shortening
- 3 to 4 cups all-purpose flour
| Prep : 30 Minutes | Total Time: 3 hours Bake: 40-45 minutes | Yield: 2 Loaves |
In a large mixing bowl, combine the wheat flour,
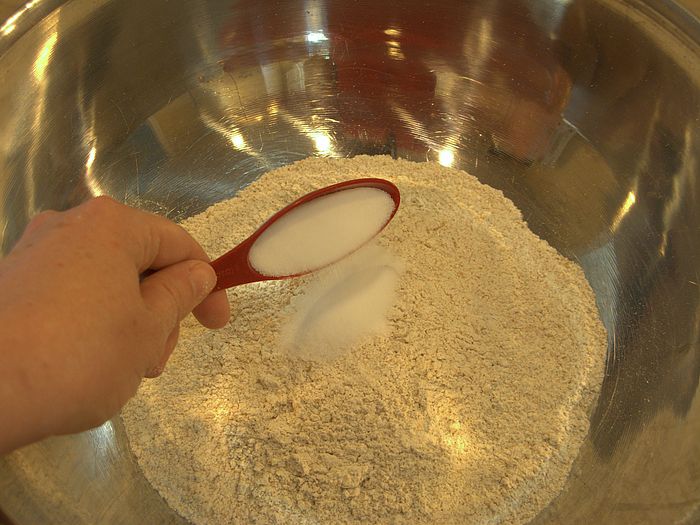
salt,
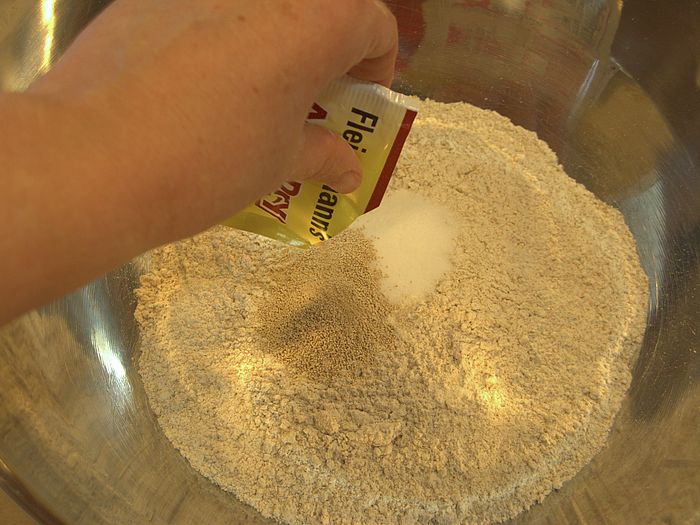
and yeast.
Heat the water in a microwave. Test it with a candy thermometer for the right temperature. Candy thermometers are not microwave safe, so don’t leave it in the water while it is heating up. When the water is the right temperature, add the honey,
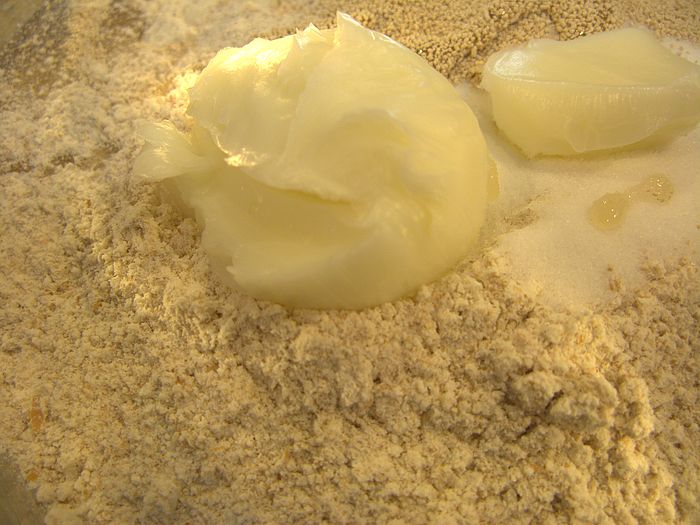
shortening,
and water to the dry mixture,
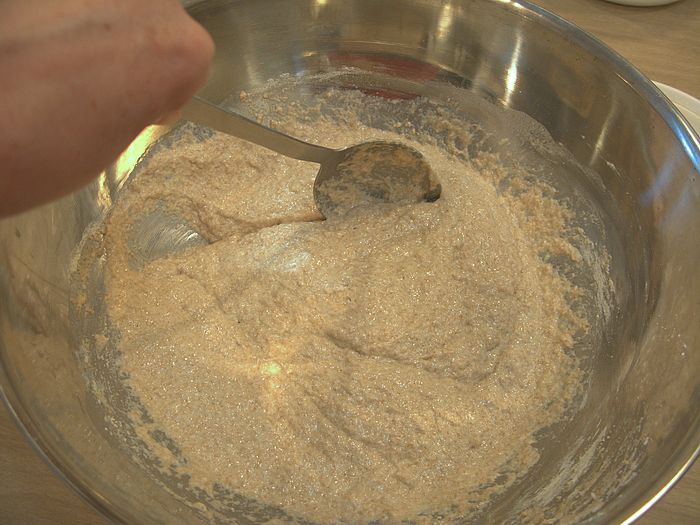
and mix well with a stout mixing spoon (wood or metal).
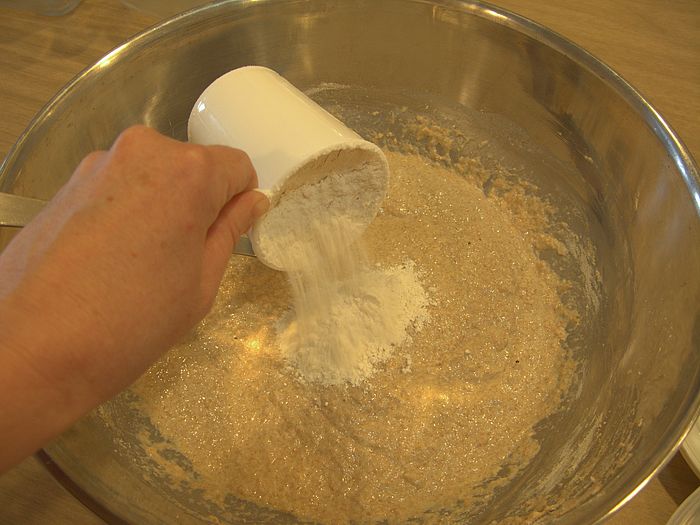
Then, add the white flour, one cup at a time, mixing the flour into the dough.
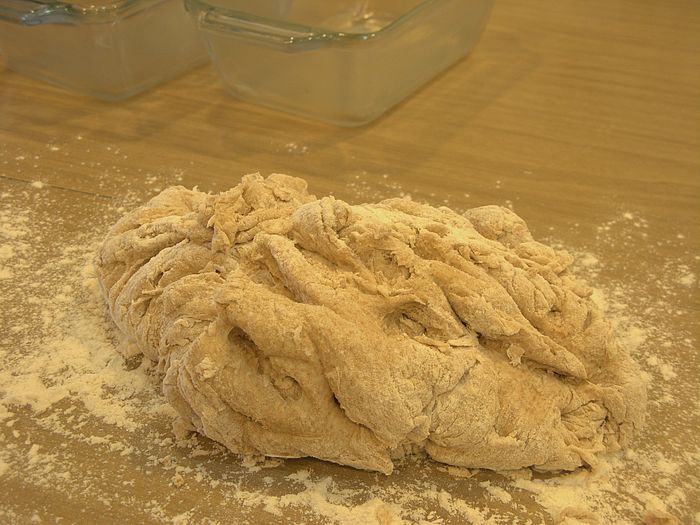
With each cup it will get stiffer. Use whatever method you can to get the flour mixed in there. By the 3rd cup I usually resort to pummeling and stabbing at it with the spoon, whatever it takes. Now, we’re ready for the fun part – the kneading. Kneading further mixes the ingredients together, develops gluten, and introduces air into the dough. The gluten, or wheat protein, is what enables the dough to rise without collapsing. Sprinkle some flour on your work surface and your hands, and then turn the dough out of the bowl.
Set your kitchen timer for 10 minutes and start kneading. This is done by folding and pressing the dough down with the heel of your hand, then turning the dough a quarter turn, and repeating the folding and pressing down.
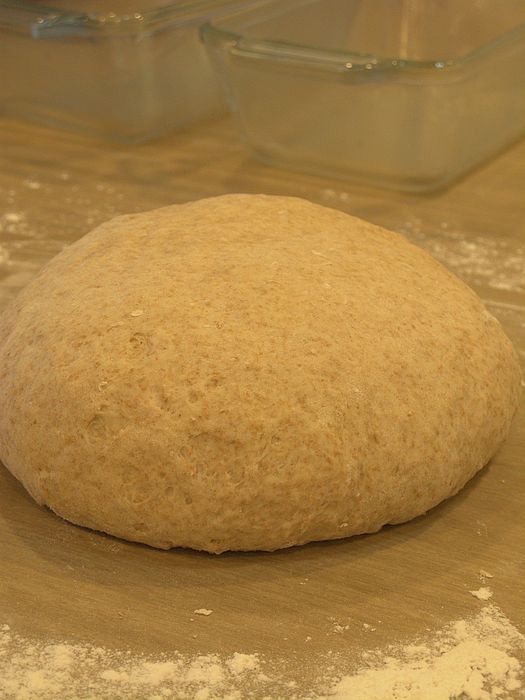
Keep kneading for the full 10 minutes. You’re also burning calories and building arm muscle. When you’re done kneading, the dough will look like this.
Put the dough into a greased bowl (I use butter), and then turn the dough over.
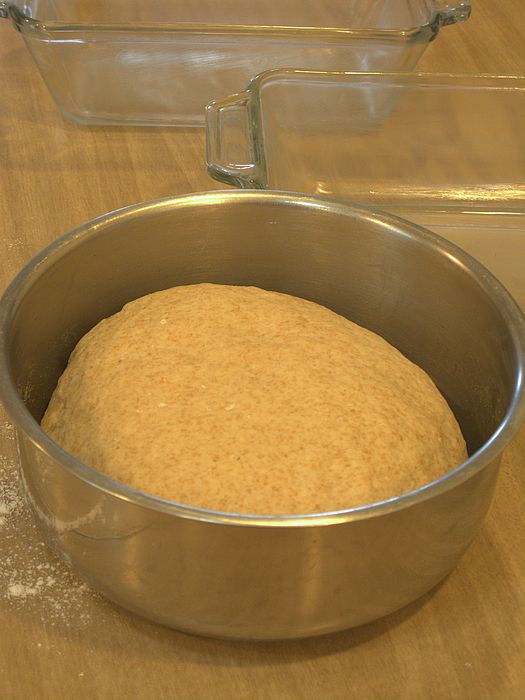
Place a towel over the bowl. Now it will rise as the yeast grows. Here it is after about 30 minutes:
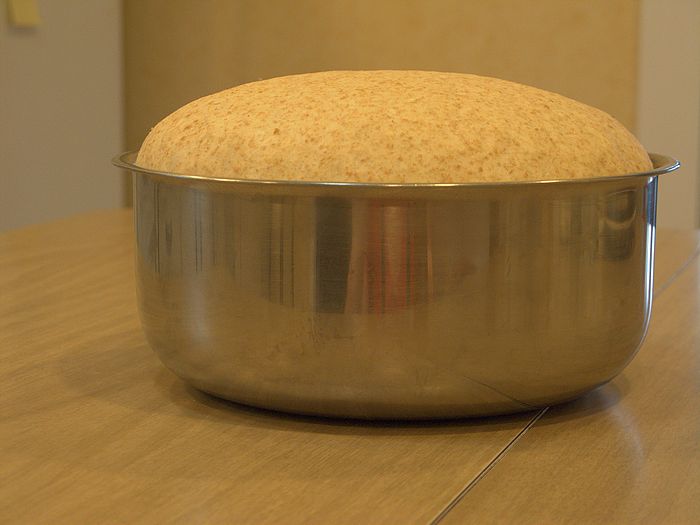
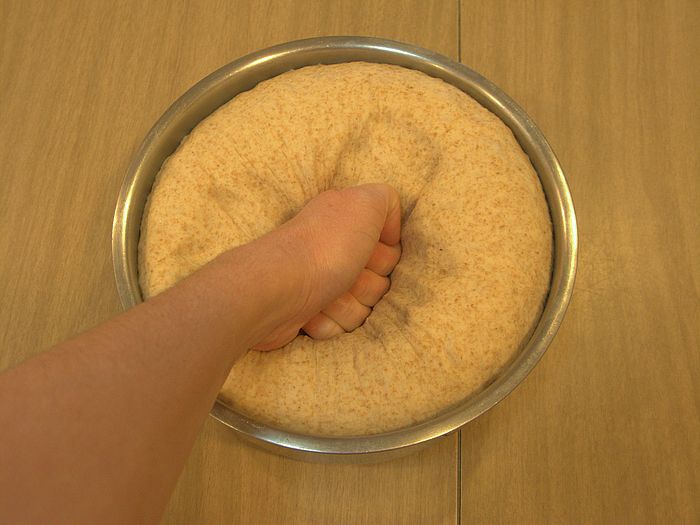
When it is about double in size, punch it down.
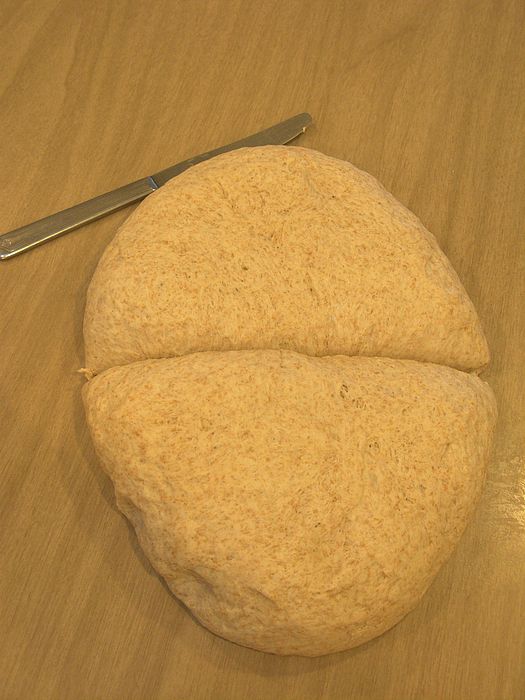
I always feel bad doing this as it has worked so hard to get that size, but punching the dough down gets rid of large air pockets you don’t want in your bread. Keep punching it down until it is about the same size it was before it started to rise. Turn it out onto your work surface again. Cut the dough in half.
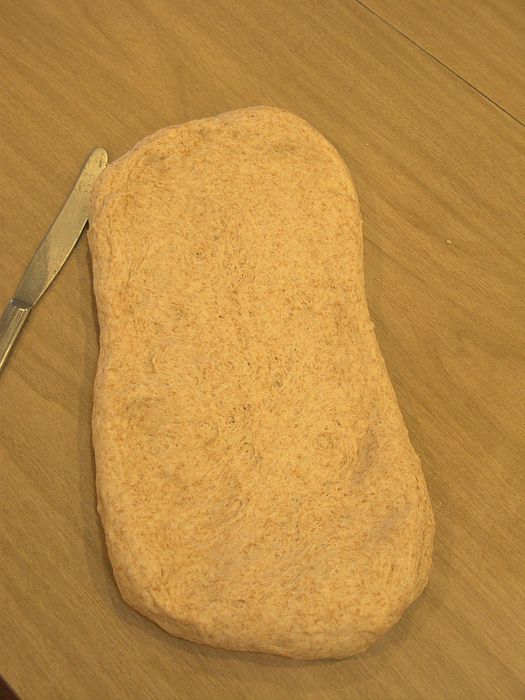
Flatten each half out into a rectangle roughly 7 X 14 inches.
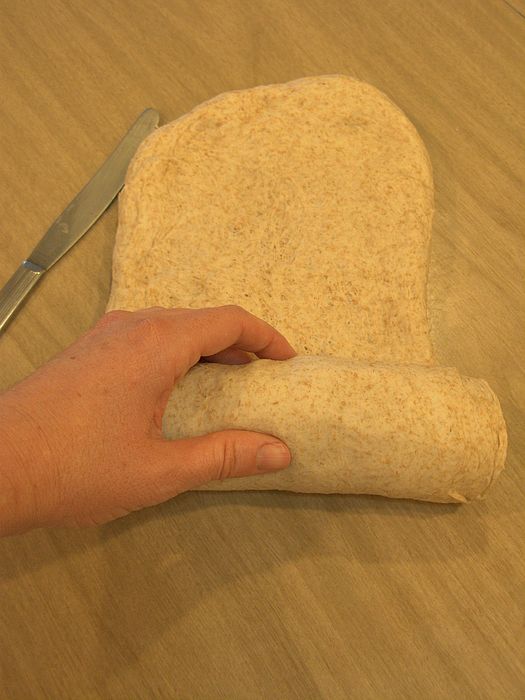
Starting at the narrow end, roll the dough up tightly.
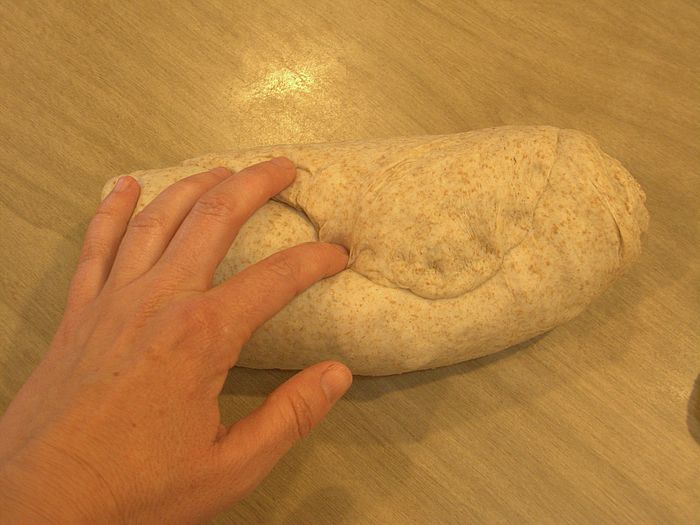
Pinch the seam closed with your fingers,
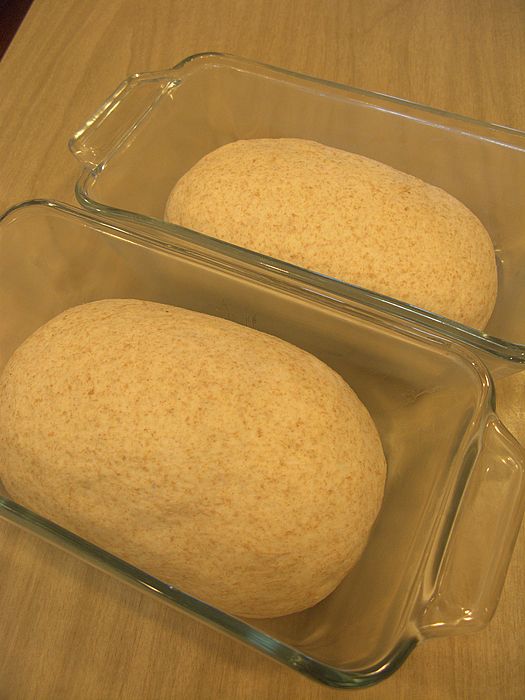
and turn the ends towards the seam. Place dough seam side down into a greased loaf pan about 9 X 5 X 3 inches.
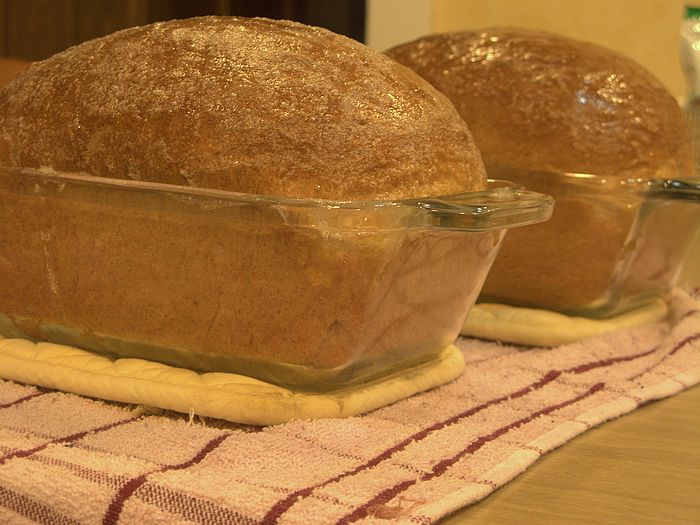
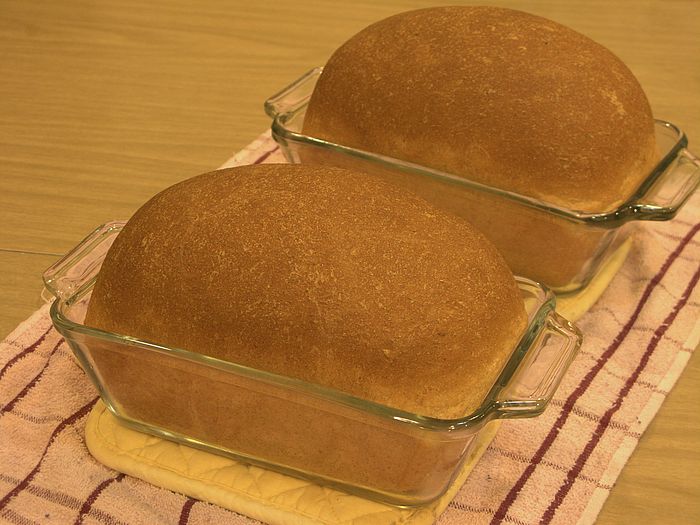
Cover with a towel, and let rise until double. Here it is -ready to go in the oven:
Bake in a 375 degree oven for about 40 minutes. Tapped with your finger, bread will sound hollow when done. Remove from the oven onto a wire rack, or hotpads.
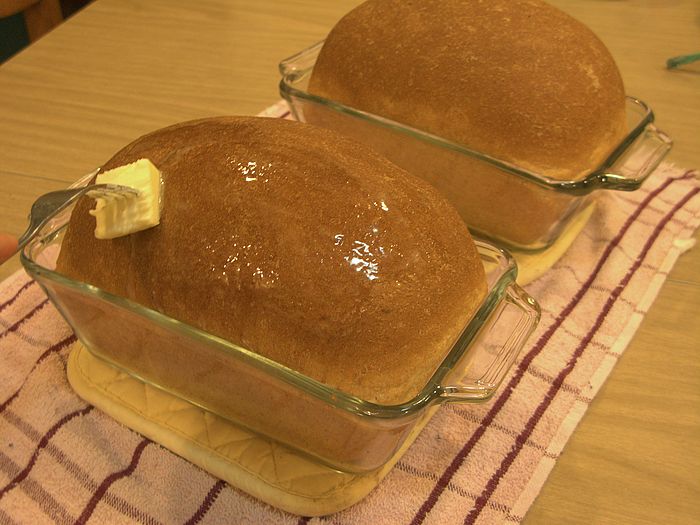
Take some butter, and apply it to the top of each loaf. Melt it all over the top.
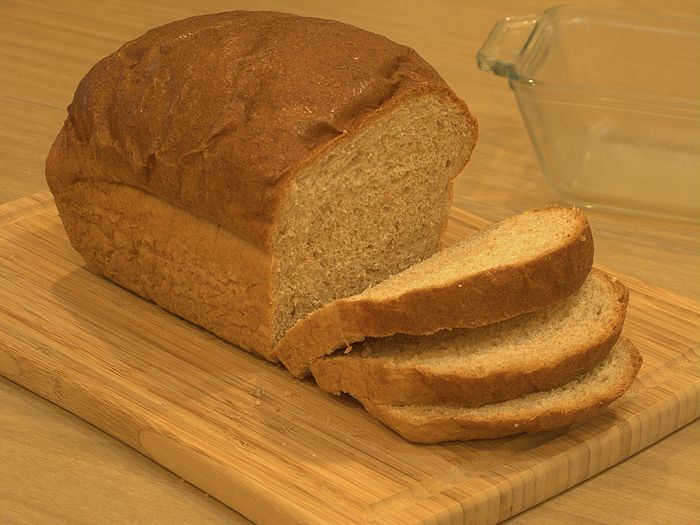
This will make your crust nice and soft. Slice when cool.
I like to toast mine and spread it with butter.
[ad name=”Google Adsense”]



















Mmmmmm……Looks good. I’m ready for some toasted homemade bread. Maybe I’ll have time this weekend with the rain?
Absolutely, no better way to spend a rainy afternoon!
What a gorgeous loaf of bread! I’ll have to give this recipe a try. 🙂
Please do, and let me know how it turns out for you.
Suzanne
Glorious loaf of bread. Love that it’s whole wheat!
Thanks for stopping by MyKitchenInHalfCups.
Thank you! You should smell it as it’s baking. Breadalicious.
Came over from Cafe Fernando you’re right yo udo make some lovely bread well done !
Well thank you. And a big THANKS for stopping by.
Beautiful loaves! Never have been pleased with any of the whole wheat recipes I’ve tried, too dense usually when what I see in my mind when making it is more like what I see in your pictures. Will be trying your recipe…thank you.
Have really enjoyed reading your blog, love the history and pictures. Makes me wish we could travel around the area where we live and explore. Oh, and love the recipes and instructions.
Hi Msk,
Thank you so much! Let me know how your bread turns out.
Your loaves look wonderful…reminds me of my Aunt Diann’s whole wheat bread.
I’m the same like you…not interested in bread machines. I love touching and feeling the dough. That’s the best part about the bread making process…except for eating it of course. 🙂
Your website is my new most favorite thing. 🙂 Made this recipe this morning which made the house smell amazing and produced the yummiest most picturesque loaves of bread ever seen. Thanks!!
Oh GOOD for you. No better smell in a home than fresh bread. Thank you!
I was looking through your recipe list this morning, and you’ve just given me the answer to what I’m making for 4 of my wonderful neighbors who have been so kind and helpful to me…………a loaf of freshly baked Honey Wheat Bread! There’s usually an overabundance of sweets during the holiday season, so I think this will be a refreshing change. I’ve been making homemade bread since I was 10 years old , and this recipe looks awesome. Thanks!
I made the dough with home ground wheat berry flour plus the white flour and it took 3 hrs. for the first rise. The recipe says 30 min. Is this correct?
Oh dear, no, it should only take 30 minutes to an hour. Sounds like you may have gotten some bad yeast, or maybe the water was too hot? I’ve killed more yeast than I care to remember with hot water. Please try again, and GOOD LUCK!
Suzanne, this is my go to bread recipe. It’s perfect on a cold day. I have also made this for my neighbors! I can’t thank you enough for such an au then tic recipe!